1. Clean ceiling-down: Why gravity matters in your cleaning order
Start every deep clean at the ceiling. Dust sitting on ceiling fans, light fixtures and crown moulding drops the moment you disturb it, which means a floor you washed at nine in the morning is wearing a fresh grey film by noon if the upper half of the room is still untouched, and the wrong order will cost you hours of rework. That is not intuition. It is physics.
The order: Fans, fixtures, moulding, then floors
Damp microfibre cloth on the fan blades first. Dust piles up thickly there. It holds pet dander and allergens. Light fixtures next. Then any recessed ceiling spots. Then moulding. Baseboards after that, floors last. Most Toronto homes have textured ceiling finishes that collect dust quickly, and a slightly dampened cloth stops the particles from simply dropping onto the next surface down, which is the whole reason the cloth is damp and not dry.
When the ceiling is out of safe reach
Vaulted and tray ceilings are where homeowners quietly skip this step, because the job now involves a ladder, and if the fixtures cannot be reached safely you should leave that part out of the DIY plan and flag it when you request a professional quote. Do not improvise. An unstable chair is not a solution. Neither is an undersized ladder.
2. Behind and under appliances: The dust bunny deposit site
Refrigerators, ovens and washing machines sit against walls. The gap between the appliance and the wall becomes a vacuum in the literal sense, and dust, pet hair and food particles collect there for years, sometimes building a cake-like layer two inches thick, and once that layer hardens it stays exactly where it is even after you have pulled the appliance out into the middle of the room.
Moving the appliance and clearing the debris
Turn the appliance off and unplug it. Then move it carefully. Recruit help for a fridge. They weigh 250-400 pounds in Toronto homes. Loosen the debris with a vacuum hose attachment. Then wipe with a damp cloth. The refrigerator coils underneath want a coil brush, sold separately at hardware stores, and it lifts off years of dust that most people never touch, which matters more than it sounds, because skipped coils reduce refrigerator efficiency and raise electricity costs.
When to leave the appliance where it is
There is a catch. An appliance that has not moved in five years may have hardened debris in the gap, or slight corrosion on the floor underneath, so DIY only works where the appliance can be disconnected and moved safely, while heavy or built-in units may need a second person, or specialist help. Confirm whether appliance moving and the floor underneath are included. Do not assume.
3. Degrease kitchen surfaces and range hoods thoroughly
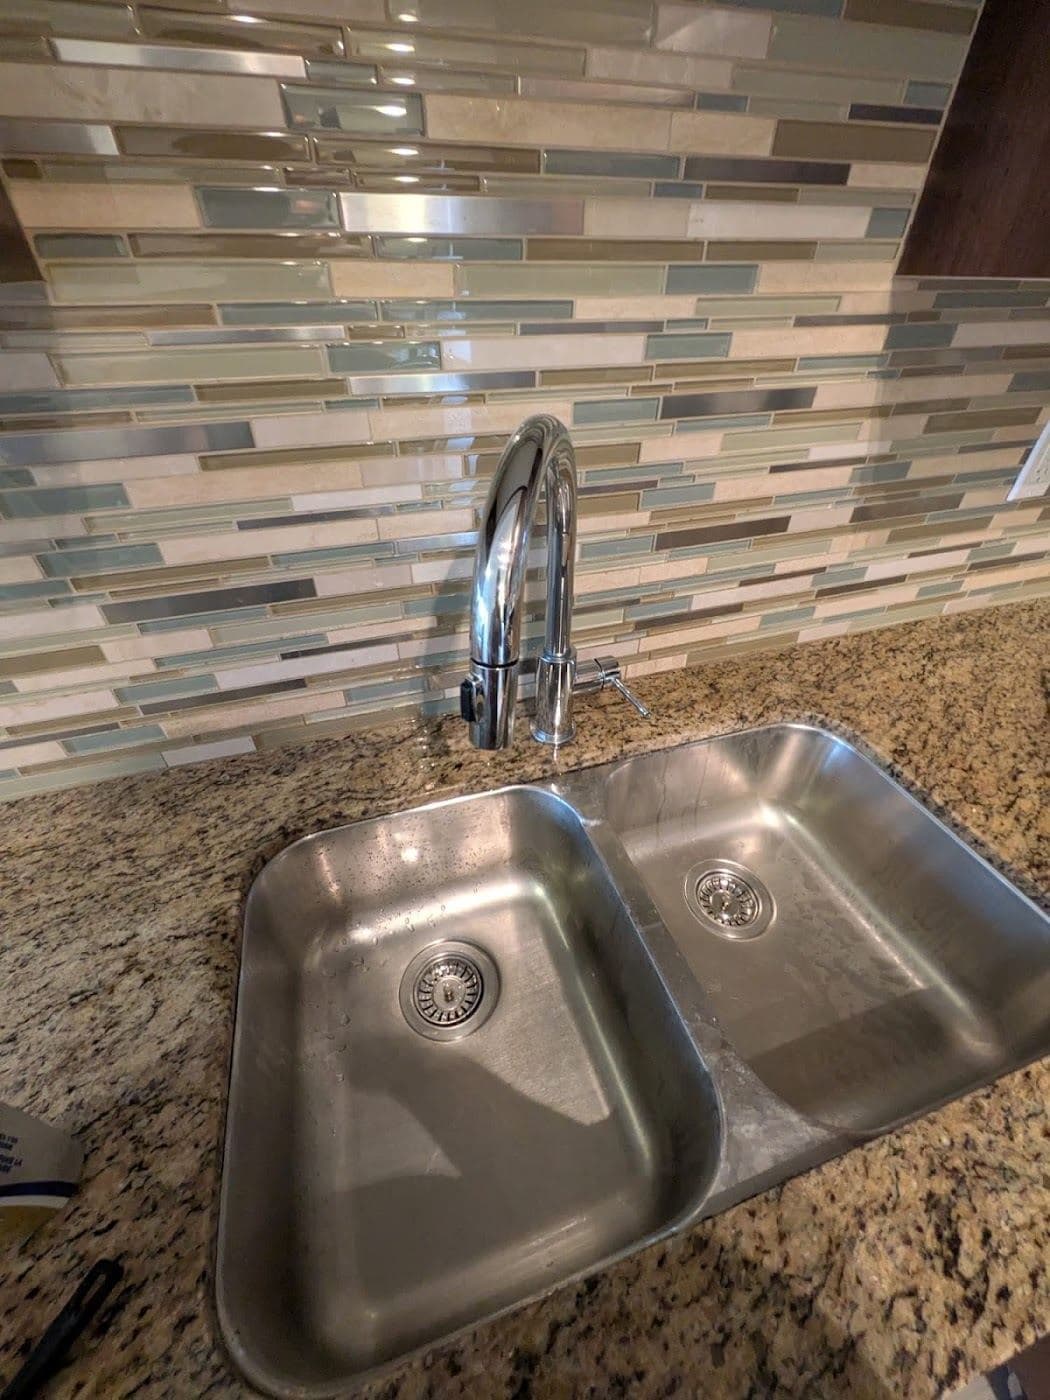
Kitchen grease is not a surface film. Heat it repeatedly and it bonds chemically to stainless steel, tile grout and painted surfaces, which is why a damp cloth mostly moves it around the room instead of lifting any of it off, and why professional degreasing needs heat and the right chemical agent.
Light grease versus stubborn buildup
Start with light grease. Visible, but not sticky. Use warm water. Two tablespoons of dish soap per quart. Spray. Wait two minutes. Wipe with a cloth, fresh side each pass. Stubborn buildup is different. For backsplashes, range hoods and the inside of microwave vents, reach for a degreaser spray with a higher alkaline pH, typically 9-11, then set a timer for five to eight minutes, never longer than recommended, because strong degreasers can damage painted surfaces, and only then scrub with a non-abrasive sponge. Rinse thoroughly.
Range hood filters: The part nobody removes
Range hood filters are the worst offender. Most homeowners have never cleaned inside theirs. The filter traps vaporised grease. That grease hardens into a thick residue. Remove the filter. Soak it 10-15 minutes in hot water and degreaser. Scrub gently with a soft brush, rinse, and let it dry completely before reinstalling. If the filter is damaged, or the interior hood carries heavy buildup, stop there and check the manufacturer's cleaning instructions before you go further, and when you compare professional quotes, ask whether the filter, hood interior and backsplash are included or priced separately.
4. Refresh mattresses and upholstered furniture to remove odours and allergens
Mattresses hold sweat and dead skin cells. Dust mites too, and their waste. Fabric sofas absorb pet odours and cooking smells. Then food spills, month after month. Regular vacuuming does not reach the odour molecules. Those sit embedded in the fibres. A true refresh takes several steps.
The baking soda method, step by step
Strip all the bedding. Vacuum the whole surface with an upholstery attachment, slowly. Sprinkle baking soda evenly, top surface and sides. Leave it 30-45 minutes, since the longer it sits the more odour it absorbs, then vacuum again, several passes, until no baking soda dust is left anywhere on the mattress, because the powder hardens as soon as it meets humidity. Flip or rotate the mattress while it is exposed. Repeat on the other side if you flipped it. Fabric sofas take the same baking soda method. One change. Test a small area on the underside first, to confirm the baking soda will not discolour your upholstery.
When odours survive the baking soda
If odours survive the baking soda, enzymatic cleaning products, made to break down organic matter, can be applied sparingly. Sparingly. Never saturate fabric furniture. Excess moisture promotes mould growth. For pet odours or stains, professional upholstery cleaning may be more appropriate than repeated DIY treatment, so ask whether upholstery sits inside the cleaning scope at all, whether it needs a separate specialist, and how long the fabric will need to dry.
5. Address baseboards, door frames, and window sills. The dust trap network
Air currents push dust downward and outward. It lands on baseboards and door frames. Window sills hold dust, pet hair and dead insects. Nobody looks at these surfaces, so they stay low-priority for months, and meanwhile they go on harbouring allergens and dust mites in a way that a visually tidy room disguises completely. The work itself is straightforward. In a large home it is also labour-intensive.
Tools and timing for trim, frames, and sills
Damp microfibre cloth. Room by room, in order. Baseboards run two to three minutes per room. It depends on the running length. Ornate door frames have tight corners and crevices, and an old soft toothbrush reserved for cleaning gets into them, though harsh abrasives should stay out of the kit entirely, because they scratch painted and stained wood. Heavy grit on a window sill needs a scraper first, plastic or wooden, to loosen the debris before a damp cloth goes anywhere near it, and watch the sill corners in particular, because that is where moisture accumulates and mould starts.
The payoff, and what to count before hiring
Finish the baseboards and the window sills. The room reads sharper. That grey dust line along every edge is gone. Wood floors and simple wall-mounted trim are easy. Carpet edges and ornate profiles are not. If you are hiring help, count the running trim and the number of windows instead of treating this as a quick add-on.
Room-by-room deep cleaning checklist and timeline
Use this checklist to plan your deep clean. Or to brief a professional team. Living room, 2-3 hours: ceiling fan, moulding, baseboards, behind and under furniture, sofa fabric refresh with baking soda, window sills, plus the light switches and door handles almost everyone misses. Bedroom, 2-3 hours: mattress flip and refresh with baking soda, closet shelves and rod dusting, ceiling fan, moulding, baseboards, under the bed with a vacuum, window sills. Kitchen, 2.5-3.5 hours: ceiling and fan, degreaser for range hood and filter, backsplash scrub, inside the microwave (often forgotten), refrigerator coils underneath, stovetop detail cleaning, baseboards, grout between tiles if applicable.
Bathrooms, hallways, and stairs
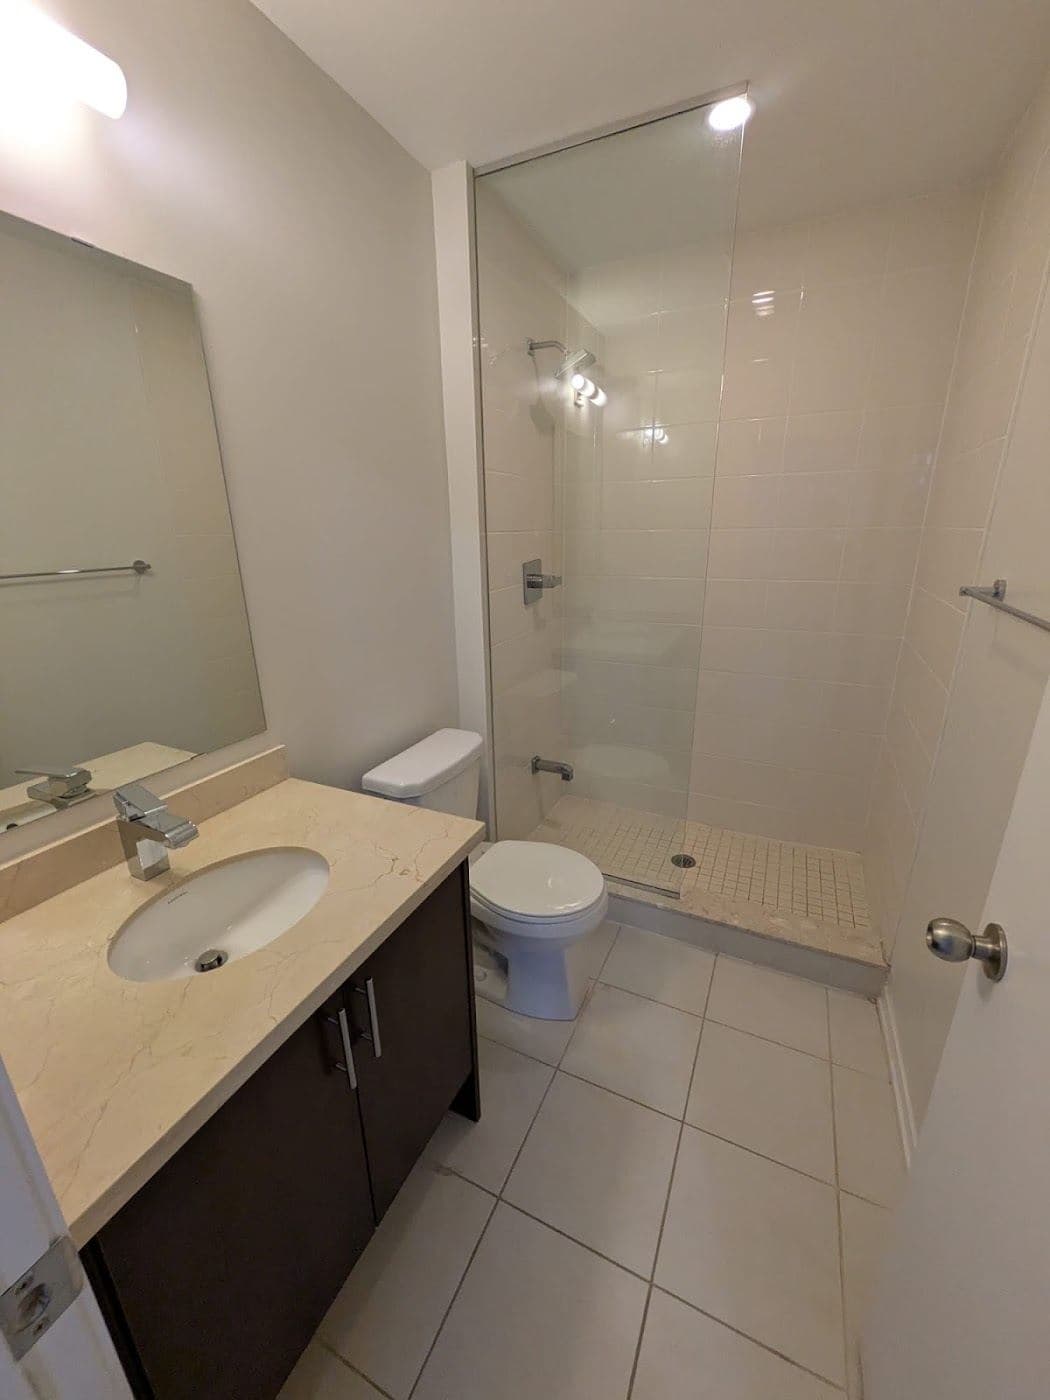
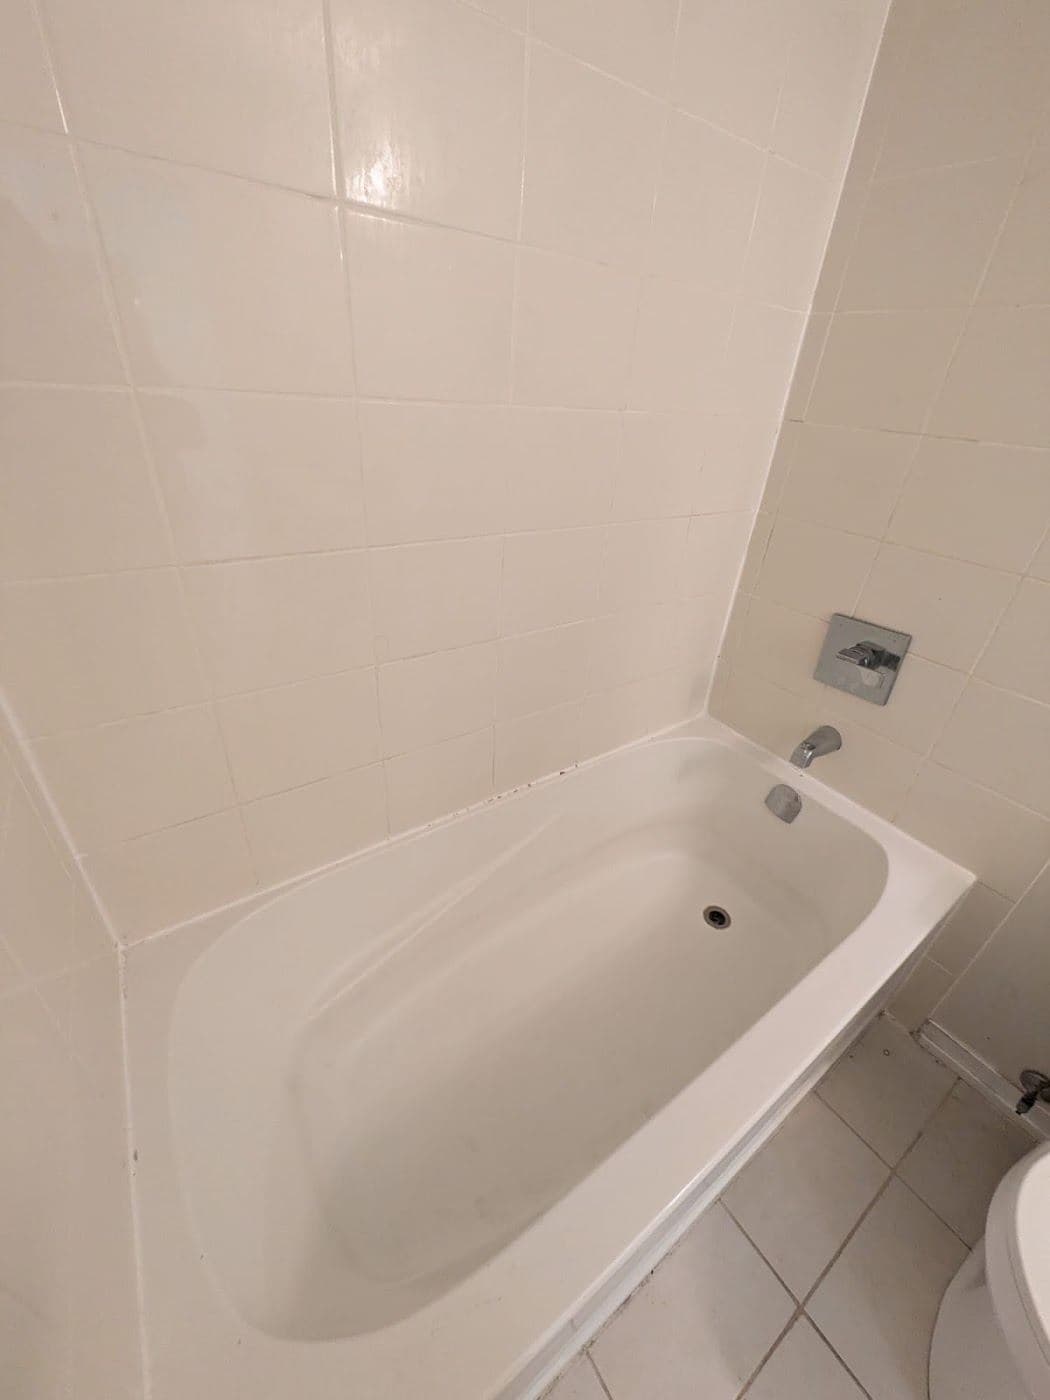
Bathrooms, 1.5-2 hours each: fan and filter cleaning, because bathroom exhaust fans trap dust and mould spores, then grout scrubbing, behind the sink cabinet and under it, baseboards, shower tile grout if applicable, window sills. Hallways and stairs, 1-1.5 hours: every length of baseboards and moulding, window sills, light fixtures, and carpeted stairs, which benefit from a steam clean or an enzyme treatment if stains are present.
What a whole-home total depends on
A full home deep clean can take one person more than a day when all of these tasks are included, and a multi-person team may work through rooms in parallel, though the actual timing still depends on scope and buildup. First-time deep cleans usually run longer than maintenance visits. More detail work has accumulated.
Deep cleaning reaches past what weekly vacuuming touches. Take it on yourself over a weekend. Or request professional help. The goal is the same either way. Reach the buildup that routine maintenance leaves behind. If you hand it off, send the home details and your high-priority areas with the quote request, so the scope is confirmed before the visit.