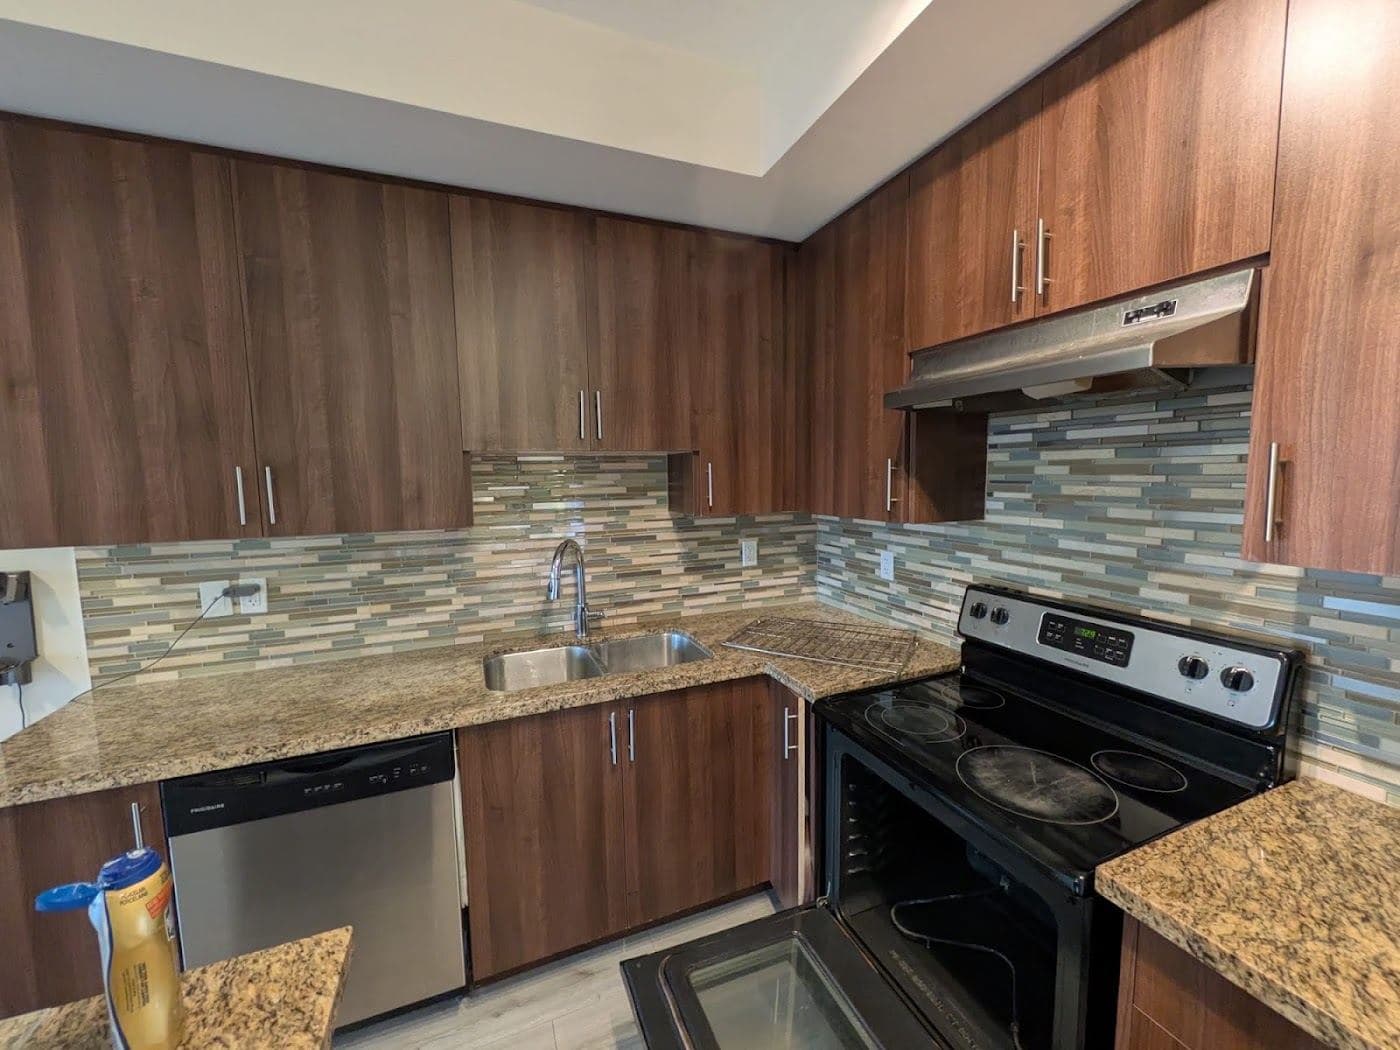
You don't need a full clean every day. You just need a consistent 15-minute routine that stops mess from building up before it turns into the kind of job you keep putting off. Here's ours.
Treat the routine as a maintenance reset. Not a promise. A quarter hour will not solve every kitchen task. The timer keeps everyday mess contained: dishes are moved, food residue is wiped up, the sink is cleared, and crumbs leave the floor instead of collecting under the toe kick where nobody looks until spring. Baked-on grease, a crowded refrigerator, appliance interiors, grout, and neglected cabinet fronts belong somewhere else, in a longer weekly or deep-cleaning session that has the time for them, and loading them onto the daily list is the surest way to stop doing the daily list at all. Separate those jobs. The daily routine then becomes achievable enough to repeat.
Set up before starting the timer
Keep a small, labelled kitchen kit. Store it where it is easy to reach, but safely away from children, pets, food, and heat. Useful basics include clean microfibre cloths, a non-scratch sponge, dish soap, a surface cleaner approved for your counters, a broom or vacuum, and a floor tool suited to the material, and none of it needs to be more than a small box that lives in one place. Use original containers. Read product labels. Provide ventilation, and never mix cleaning products. More product does not make the routine faster. It may leave residue.
What to put away before you start
Before cleaning, put away exposed food. Move sharp tools to a safe place. Let hot cookware and burners cool. Start the dishwasher if it is already loaded, or fill the sink only if hand-washing is part of the plan. Choose a home for items that regularly collect on the counter, such as mail, reusable bottles, lunch bags, and charging cables, because the routine works best when putting something away takes one decision instead of several minutes of reorganizing a drawer you did not intend to open.
Minutes 1–3: Clear and wipe counters
Put everything back in its place. Spray counters with an all-purpose cleaner and wipe down with a microfibre cloth, working from the back edge toward you, past the kettle and the toaster, so nothing that has already been cleaned gets crumbed again by the pass after it. Include the area around the sink and stovetop.
Clear first, wipe second
Clear first and wipe second. Return ingredients, small appliances, and clean dishes to their regular places; move recyclables and garbage to the correct bins; and place items that belong elsewhere in one small basket to remove after the timer, not on the counter where it will still be sitting tomorrow evening. Do not push objects from one end of the counter to the other. That is not clearing. There is a point to keeping a useful stretch of work surface open: it makes tomorrow's meal preparation easier, and it reveals spills before they harden.
Match the cleaner to the counter material
Match the cleaner to the surface. Natural stone, butcher block, stainless steel, laminate, quartz, painted wood, and tile can have different care requirements. Apply product as directed. Allow any stated contact time. Use a clean cloth folded into sections, so each pass has a fresh face and the last wipe is not simply moving the first one around the counter in a thinner and slightly stickier film. Work around appliances. Never soak their seams or controls. Finish with the front edge of the counter, backsplash splashes, and the wall area beside the garbage bin.
Minutes 4–7: Tackle the stovetop and sink
Wipe down burners and grates while they're still slightly warm. Not hot. Rinse and scrub the sink. Then dry it, because a dry sink stays cleaner longer and prevents the water stain buildup that later needs a descaler instead of a cloth.
Let the cooktop cool before you scrub
For safety, wait. Wait until the cooktop and cookware are cool enough to handle. Follow the appliance manufacturer's care guidance. Lift loose crumbs with a damp cloth before they smear. Then soften fresh splashes with the appropriate cleaner instead of scraping, because scraping is what puts a permanent mark on a finish that was only ever holding a bit of sauce. Avoid flooding burner openings, control panels, or the joint between the cooktop and counter. If residue is baked on, note it for the weekly reset. Do not damage the finish to beat the timer.
The sink basin, strainer, and faucet
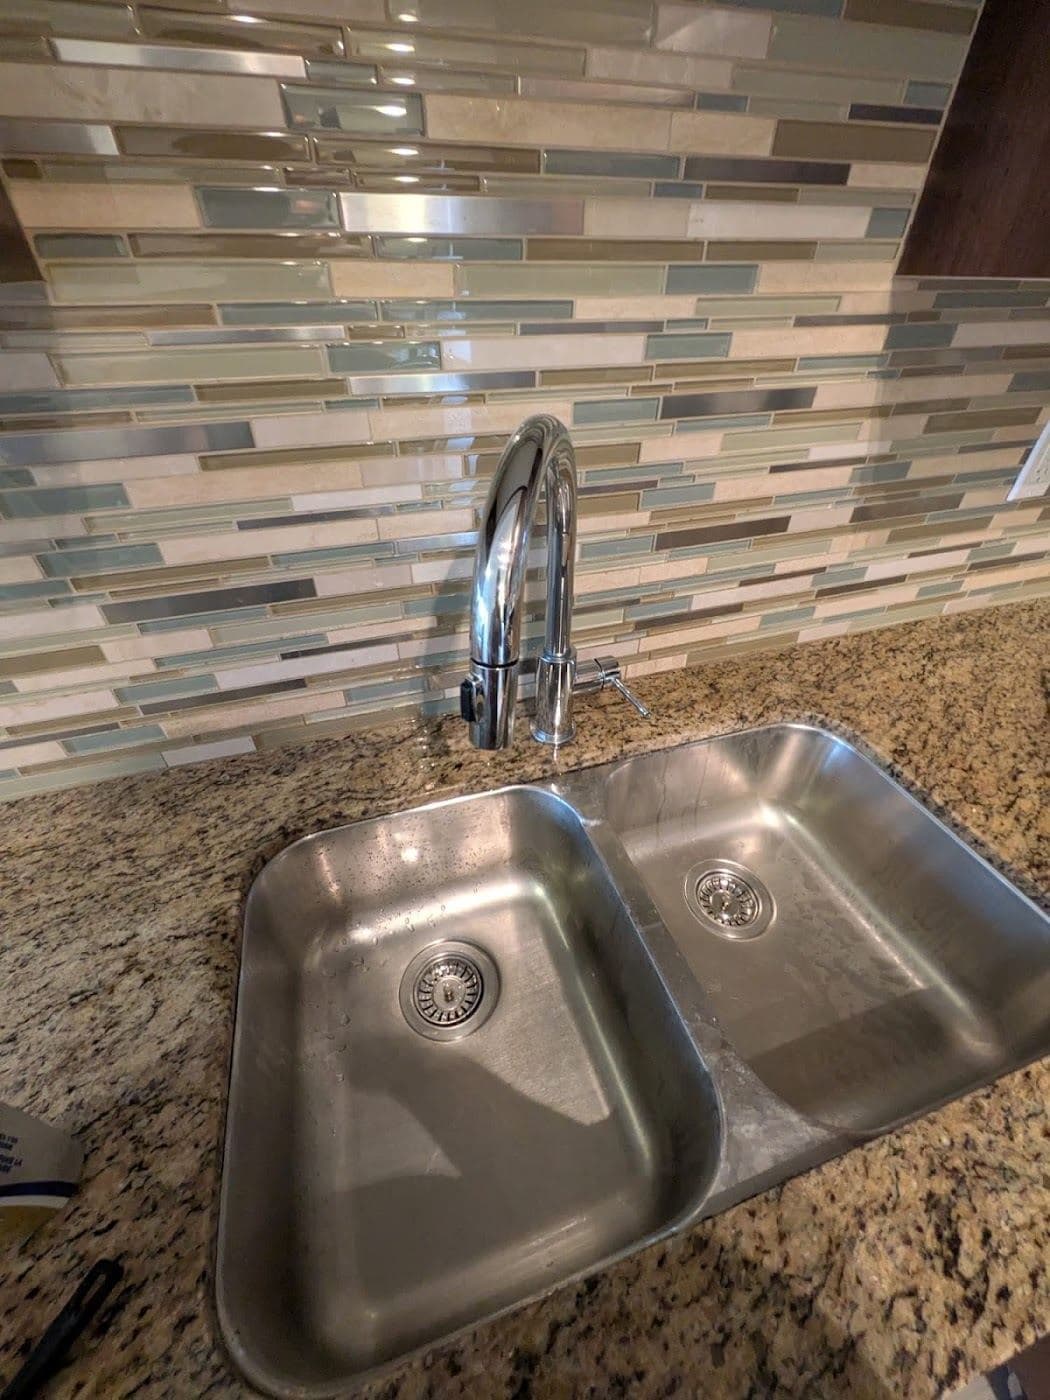
Move dishes out of the sink before cleaning the basin. Remove food scraps. Use the drain method appropriate for your home. Wash the strainer. Clean the faucet handle, spout, rim, and divider. Rinse when required by the product label. Dry the faucet and surrounding counter with a separate cloth. Do not pour grease, harsh combinations of chemicals, or inappropriate food waste into the drain, since a clear sink is not worth creating a plumbing problem that outlasts every fifteen-minute routine you will ever run and every good intention behind them.
Minutes 8–12: Load the dishwasher or wash up
Clear all dishes from the counter and table. Load the dishwasher or wash by hand. Wipe down the outside of the dishwasher and any appliances you used today, because the handle and the control panel collect more from a day of cooking than the door ever does, and a fingerprint on stainless steel is the one thing a visitor sees first.
Grouping, loading, and what to hand-wash
Group the dishes before loading. The process then stays quick. Scrape food, place dishwasher-safe items according to the machine guidance, and keep sharp knives where they can be handled safely. Check that spray arms can move. Check that tall items do not block the detergent compartment. Hand-wash wood, delicate finishes, insulated items, or other pieces that are not dishwasher-safe. And if the load is not full, the daily goal can simply be getting everything contained neatly inside, which is a real result even though nothing has been washed yet and the machine will not run until tomorrow.
Hand-washing, then handles and control panels
When hand-washing, keep the clean drying area separate from food preparation residue. Replace visibly dirty water. Wash cleaner items before heavily soiled cookware. Rinse as needed, and allow pieces to dry on a clean rack instead of a used towel, which is the quiet difference between dishes that are clean and dishes that only went through water. Wipe the dining table, chair touchpoints, refrigerator handle, microwave control, and dishwasher handle with a material-safe method. Electronics and control panels should be wiped carefully. Never spray liquid into seams.
Minutes 13–15: Sweep or quick-mop the floor
A quick sweep catches crumbs before they attract pests. Once a week, do a quick wet mop. And keeping floors clean daily makes your weekly mop take half the time, because the grit that makes mopping slow is the grit a broom would already have lifted, and grit walked into a damp floor is a different job entirely.
A sweeping route that ends at the door
Start under the table. Counter edges next, then the food-preparation zone. Work toward the exit, so you are not walking over the finished area. A handheld vacuum can be efficient in a small kitchen. A broom may be better for larger crumbs. Check beneath cabinet toe kicks. Check around the garbage bin. If something wet or sticky has spilled, spot-clean it promptly with the least moisture and the product recommended for the floor, because a sticky patch left under a chair leg is tomorrow's job and next week's mark.
When daily wet mopping is not the answer
Daily wet mopping is not necessary for every floor. It can be unhelpful on moisture-sensitive materials. Save the full mop for the schedule and product appropriate to tile, vinyl, sealed wood, laminate, or stone. Vacuum or sweep first. Otherwise grit scratches or turns into muddy streaks. Keep the floor clear until it dries, especially in a narrow galley kitchen where someone may enter from the hallway without seeing the damp area at all.
Use a closing shift instead of chasing mess
Choose a consistent trigger for the routine. After dinner, after packing lunches, or immediately before the dishwasher runs. A trigger is easier to remember than a vague plan to clean later. Everyone using the kitchen can take one defined role, such as returning food, loading dishes, wiping the table, or sweeping, and the roles matter more than the speed once more than one person is in the room. The goal is not a perfect showroom each night. It is a safe, usable workspace. And a morning without yesterday's avoidable clutter.
Reset while you cook, not after
A small reset during cooking reduces the final workload. Put ingredients away once they are no longer needed. Load a used tool while food simmers. Wipe fresh spills when the surface is safe to touch. Keep one area available for active preparation, so dirty and clean items do not spread across every counter and the whole kitchen does not quietly become the workspace. These habits do not add a second cleaning session. They protect the fifteen-minute closing window from becoming an hour-long rescue.
Know what should not be rushed
Pause the timer. Broken glass, raw-food spills, a leaking appliance, smoke, a pest concern, or any other condition that needs careful handling all come ahead of the clock, and none of them belong inside a routine designed around a quarter hour and a wipe-down of the counters. Use the appropriate safety guidance for the situation. Keep people away from the area until it is resolved. The same applies to unfamiliar stains or delicate surfaces. Identify the material. Read the product instructions before experimenting. Speed is useful only when it does not create damage or spread contamination.
What to leave out of the daily routine
Do not use the daily routine to clean inside a hot oven, move a gas appliance, climb onto counters, reach unsafe high fixtures, or mix products. Those jobs need the right time, access, and equipment. Make a note instead. Send it to the weekly reset, a periodic deep clean, maintenance help, or the appropriate trade, because a realistic boundary is what keeps a simple habit from becoming an unsafe project at the end of a long day.
Once a week: the 20-minute reset
The daily routine keeps mess from building up. Once a week, go a step further. Wipe down cabinet fronts and the fridge door, clean the microwave inside and out, descale the kettle or coffee maker, and run an empty dishwasher cycle with a cleaner to keep it fresh, which is the short list that stops the weekly reset from expanding into an afternoon. Twenty minutes weekly stops the slow grime that a daily wipe never quite reaches.
Food storage, bins, and one appliance at a time
Use the weekly reset to check food storage. Visible surfaces too. Wipe a refrigerator spill before it spreads, remove food according to household guidance, wash the garbage and compost containers when needed, and inspect pantry shelves for crumbs or damaged packaging, since the shelf that gets ignored is always the one holding something that leaked. Clean one appliance in detail according to its manual. Do not try to service every appliance at once. Rotate the focus. That keeps the session short while still reaching beyond the daily path.
When the daily routine is not enough
Even a disciplined routine cannot reach behind the stove. Or inside the oven. Or into the grout over time. Those are the jobs a periodic deep clean handles. They are far easier to keep up with once a professional has reset the kitchen to a true baseline. Has yours drifted past quick fixes? Then a one-time deep clean is the simplest way to start the daily routine from a genuinely clean slate.
Signs the kitchen needs a longer session
Some signs are obvious. Those include sticky cabinet film, persistent odours, heavy cooktop residue, marked grout, crumbs inside drawers, an overdue refrigerator cleanout, and floor edges that remain dull after routine care, all of which say the kitchen needs a longer session than fifteen minutes will ever give it. Break the work into zones. Use the deep-cleaning tips article as a planning reference. Confirm manufacturer instructions before treating appliance interiors or specialty finishes. Arrange appropriate help for repairs, pests, or inaccessible areas.
What to describe when you ask for a quote
Comparing a one-time deep clean with recurring house cleaning? Describe how the kitchen is used, the current buildup, appliances that need attention, delicate materials, pets, access, and the result you want. Ask what the quoted scope includes. Do not assume every cabinet or appliance interior is standard. Once the kitchen has a workable baseline, the fifteen-minute routine becomes what it should be: a calm closing habit that preserves the space between fuller cleaning visits instead of trying to stand in for them on a weeknight with a timer running.