Move-out cleans are high-stakes. This is the move out cleaning checklist for tenants handing back a rental. Landlords and property managers walk the unit with their own checklist in hand, and the handover either goes smoothly or it does not, with very little ground in between, which is why the last hours in an empty home matter more than everything you did in the weeks before. A place with nothing to photograph is the goal. The whole goal. Here is what a thorough move-out clean looks like.
Start with the lease and handover plan
Read first. Before opening a cupboard, read the move-out instructions in your lease. Before filling a bucket, read any checklist supplied by the landlord, property manager, or building. Note the handover time. The elevator reservation. The key-return process, garbage rules, and whether appliances, balconies, lockers, or parking spaces are part of the inspection. Then write it down, because a written list prevents an exhausting last-minute clean from missing a requirement that is specific to the property and appears nowhere on a generic checklist.
Work backward from the key handover
Work backward from the key handover. Not from moving day. Ideally, the home is empty before the detailed cleaning starts, with enough time afterward for surfaces to dry and for you to complete a calm final walkthrough that is not run at a jog, and the time you leave for drying is the time you are actually leaving for yourself. Do movers, painters, or repair trades still need access? Then schedule the final floor and bathroom cleaning after they leave. In a condo, also account for elevator windows and the time needed to take supplies, recycling, and garbage through the approved route.
Empty the home before the detailed clean
Boxes slow every task. They hide things too. It is easy to overlook the floor, the walls behind them, and the storage space, once the cleaning has to work around a stack of cartons. Remove personal items from closets, cabinets, drawers, the refrigerator, balcony, storage locker, and utility areas. Sort donations, recycling, hazardous household waste, and regular garbage according to local and building rules, instead of leaving bags in a common area for somebody else to deal with after you have gone and the keys are back on the management office desk. Check every shelf and drawer with your hand as well as your eyes. Small items often remain in dark corners.
Kitchen
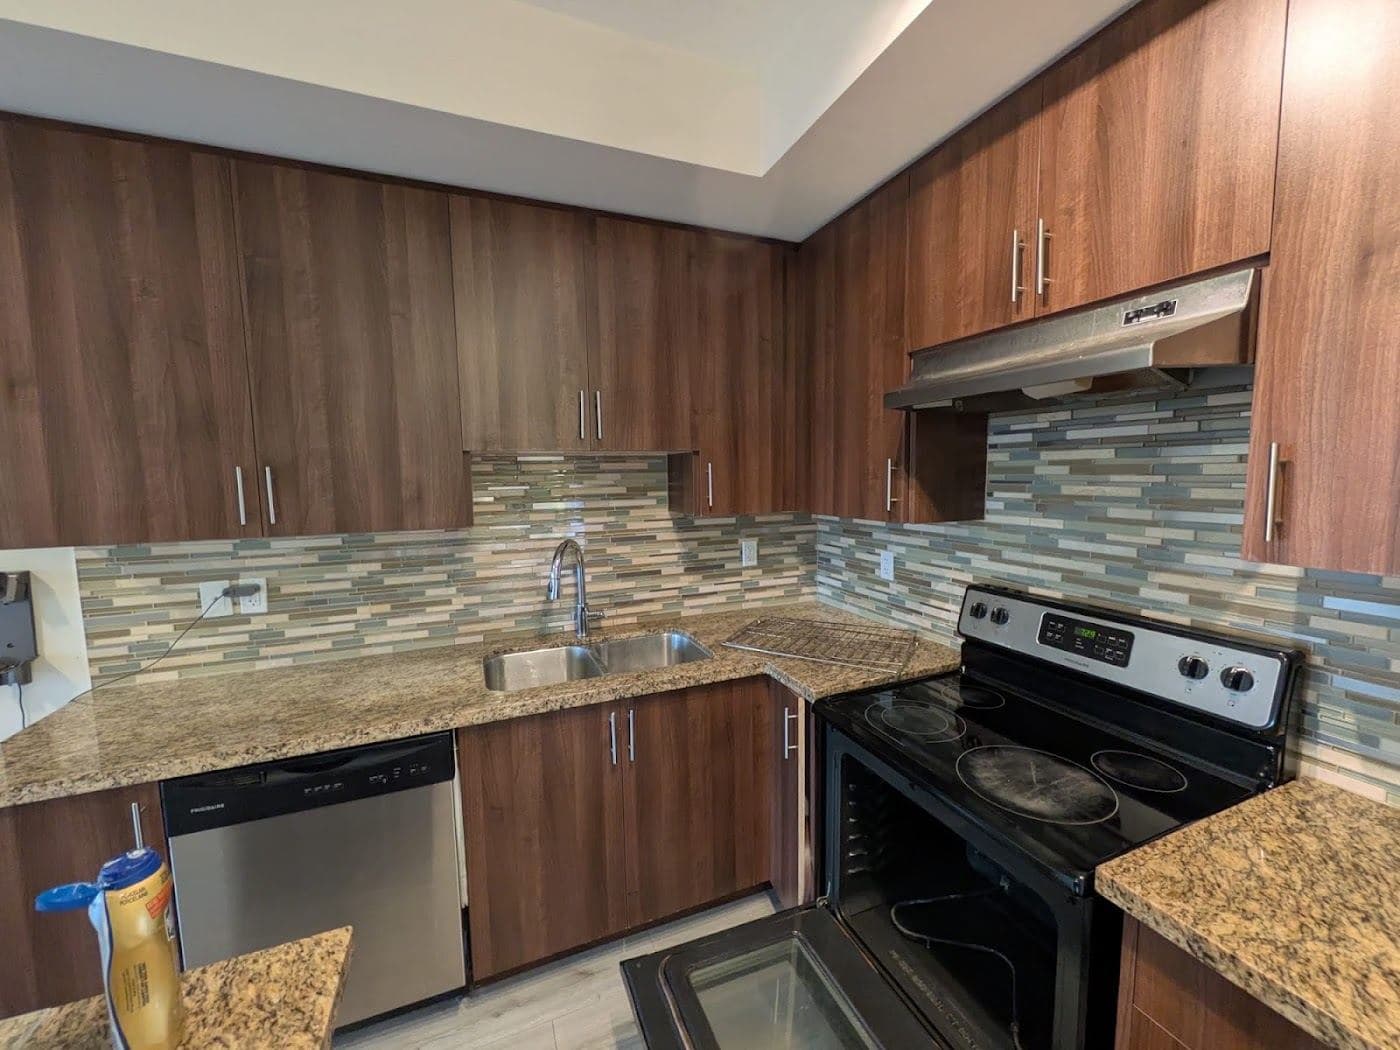
Clean inside and outside all cabinets and drawers. Degrease the stovetop. Then the oven interior, range hood, and backsplash. Wipe down the fridge inside (including the door seals) and outside. Clean the sink and descale the faucet, because a limescale ring around the base of a tap is the first thing an inspector's eye lands on in a kitchen that otherwise looks finished.
Start high and dry, then the cabinet interiors
Begin high and dry. Dust the tops of cabinets, light fixtures, vents, plus the upper edge of the backsplash, before using wet products below. Empty crumbs from drawers with a vacuum or dry cloth. Then wipe the interior with a product suitable for the cabinet finish. Pay attention to handles, hinges, shelf edges, and the narrow spaces beside appliances, which is where a landlord's finger goes on a walkthrough and where a cloth rarely goes on a clean. Leave cupboard doors open briefly. The interiors dry instead of trapping moisture or cleaning-product odour.
A methodical pass over the appliances
Appliances need a methodical pass. Let the oven and cooktop cool fully. Follow the manufacturer's care instructions. Avoid abrasive tools on coated or glass surfaces. Remove washable racks or trays only when you know how they reinstall. In the refrigerator, discard food, wipe shelves and bins, clean crumbs from the door gasket, and dry everything before closing it. And if an appliance must remain connected, do not pull it out unless it can be moved safely without straining the floor, cord, water line, or gas connection.
Finish with the sink, counters, and a bright check
Finish the kitchen with the sink and faucet. Then counters, plus switches and appliance fronts. Do it using separate clean cloths for greasy and food-contact areas. Product labels and surface guidance matter: natural stone, stainless steel, wood, laminate, and painted cabinets do not all tolerate the same cleaner. Never mix cleaning chemicals. Rinse a surface when the product instructions require it. Then do a bright final inspection from several angles, which is what catches streaks on steel, residue on counters, and crumbs along the toe kicks that a straight-on look will miss every time.
Bathrooms
Scrub the toilet, tub, shower, and sink thoroughly. Remove soap scum and hard water stains. Wipe mirrors, clean inside medicine cabinets, and mop the floor. Grout lines have to be clean. This is what landlords check most carefully, and it is the one line of a bathroom that a quick pass with a cloth will never actually touch.
The order of work, and where hair collects
Ventilate the room. Apply products only for the contact time stated on their labels. Work down from mirrors and shelves. Then vents and cabinet interiors. Then the shower, tub, toilet exterior, and finally baseboards and floor. Hair collects around drains, behind the toilet, under vanity edges, and at the meeting point between baseboards and tile, which is a joint you have walked past every day for a year without once looking at it, and it holds more than the drain does. Use a flashlight at floor level to find what overhead lighting can hide. Then remove debris without forcing anything into a drain.
Different materials, and what cleaning cannot repair
Treat mineral deposits, soap residue, grout, caulking, chrome, natural stone, and acrylic as different materials. A tool or acid-based product that works on one can scratch, etch, or discolour another. Test unfamiliar products in a discreet area. Stop if the finish changes. Surface soil is what cleaning can remove. What it cannot repair is failed caulking, permanent staining, mould inside a material, or worn fixtures, so record those conditions instead of scrubbing so aggressively that you damage the surface you were trying to hand back.
Bedrooms & Living Areas
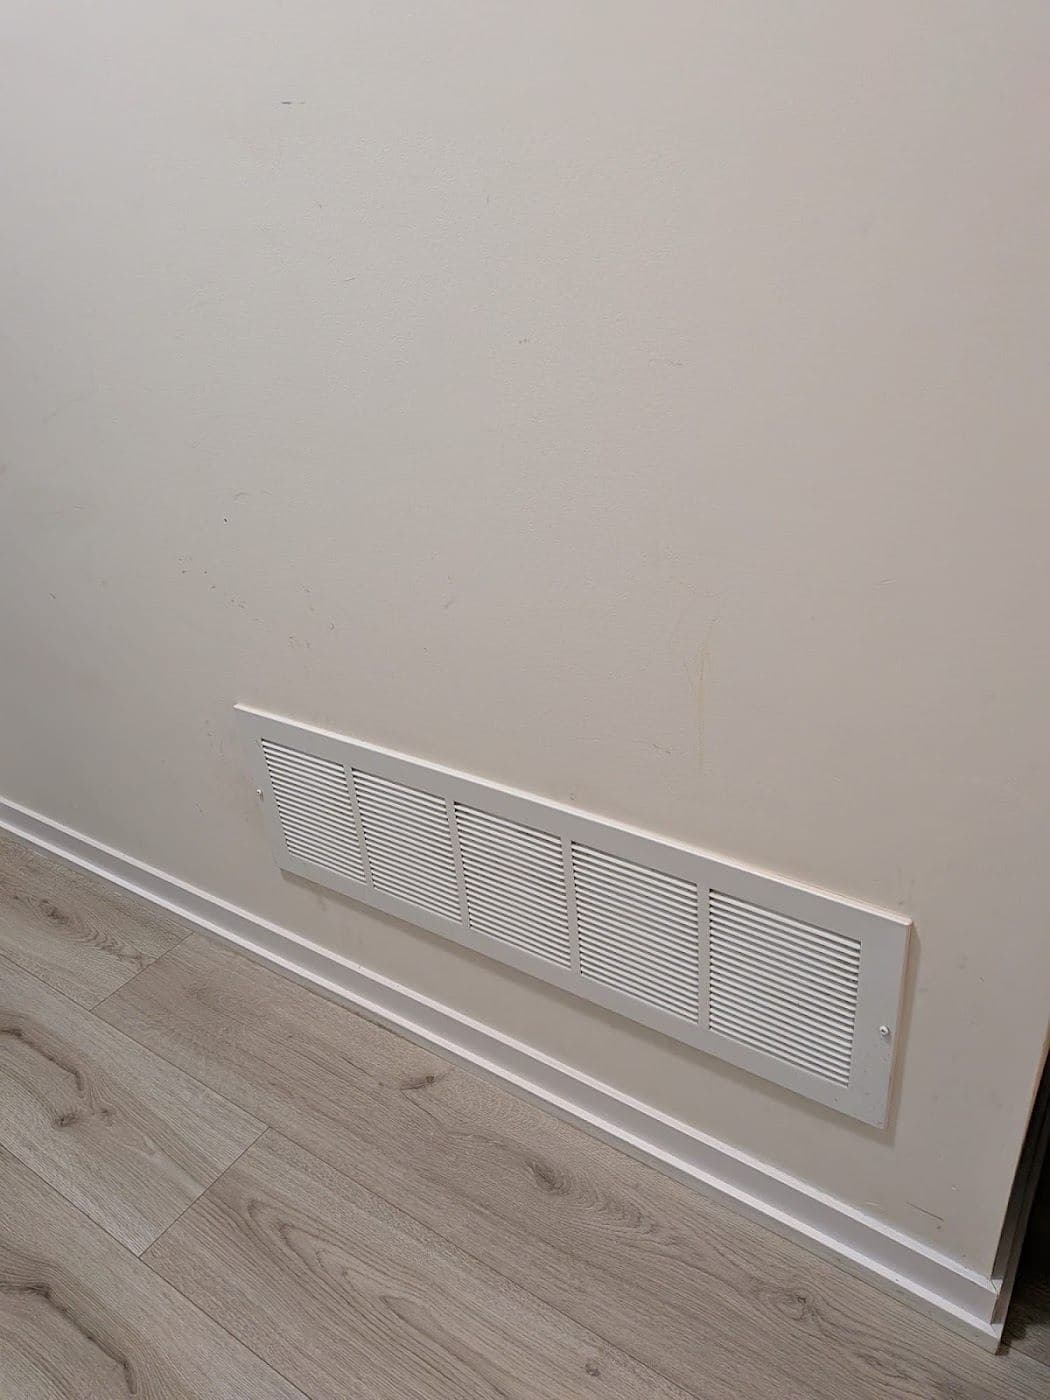
Wipe all surfaces, window sills, and light switches. Clean inside all closets. Vacuum carpets or mop hardwood. Remove any scuffs from walls using a Magic Eraser, but test on an inconspicuous spot first, because a flat paint can come away from that treatment looking shinier than the wall around it.
A top-to-bottom route through each room
Use a top-to-bottom route through each room. Ceiling corners first. Then fixtures, vents, door tops, shelves, closet rods, window ledges, then baseboards, and finally the floor. Wipe switches, handles, thermostat covers, and built-in shelving. Use a barely damp cloth suited to the finish. For walls, start with dry dusting and the gentlest method available, because flat paint can burnish or lift under pressure and testing is essential even when a mark looks easy to remove.
Closets, tracks, and the space behind doors
Open every closet. Inspect it under direct light. Vacuum shelf corners. Wipe rods and handles. Check the floor where shoes or storage bins sat. Remove adhesive residue only with a method approved for that surface. In living areas, look beneath radiator covers, around cable outlets, along sliding-door tracks, and behind doors, all details that take little time in an empty room and make the whole space read as intentionally finished.
Final walkthrough checklist
Before you hand over the keys, check that all light bulbs work. Replace any that are burnt out. Confirm all garbage is removed. And take photos of every room for your own records, because the photos cost nothing on the day and are the only version of the room you will still have in a month.
Walk it dry, in daylight, as an inspector would
Do the walkthrough after the home has dried. Do it while there is good daylight. Enter each room as an inspector would. Scan clockwise from the ceiling to the floor. Open cabinets, closets, appliances, and drawers; look behind every door; run a clean tissue along a few shelves and ledges; and view mirrors and stainless steel from the side to reveal streaks, because a mirror that looks perfect head-on rarely does from an angle. Confirm that cleaning supplies, vacuum attachments, step stools, and garbage have left with you.
Photos, video, and the records worth keeping
Take clear, time-stamped photos or video. Cover the overall room condition. Cover the details that matter, following any process set out in the lease. Include appliance interiors, bathrooms, floors, walls, closets, plus returned keys where appropriate. Keep copies of written handover instructions. Keep any cleaning invoice with your move records. Documentation does not decide a dispute by itself, but it gives you an accurate record of what the home looked like on the day you left it, which memory will not.
Floors, walls, and the spots tenants forget
The most commonly missed areas are the ones you stopped noticing months ago. Scuff marks along hallways. Dust on top of door frames and baseboards. Marks around light switches, inside window tracks, and the floor space that lived under furniture. Landlords notice them precisely because they are looking for reasons to make a deduction, so a final pass on these details does more to keep the walkthrough uneventful than the obvious surfaces do.
Choose floor methods by material
Choose floor methods by material, not by convenience. Vacuum grit before damp cleaning. Use minimal moisture on wood or laminate. Avoid products that leave a slippery or cloudy film. Carpet may need slow vacuum passes in multiple directions, especially along edges and where furniture stood. Stains, wax, adhesive, paint, and renovation residue can require specialty treatment, so identify them early and you will not be improvising with a scraper or a solvent during the final hour before the keys are due, which is the worst hour of the whole move to be experimenting.
Should you DIY or hire a move-out clean?
A DIY move-out clean is realistic for a small, well-kept space. That assumes you have the time. It also assumes the move is not already overwhelming. For larger homes, tight handover deadlines, or units where the lease specifies a professional clean, hiring help is usually the safer call. The cost sits well below what a disputed damage claim can run to, and a move-out clean pairs naturally with packing and unpacking when the whole move has to happen at once.
What to include when you describe the job
If you request professional help, describe the property type, approximate size, number of bathrooms, current condition, access rules, parking, elevator booking, the deadline, and any appliances or interior storage that need attention, since a scope built on guesses is the one that changes on the day. Ask what is included. Ask what requires extra time or equipment. Ask whether the home must be empty. Share photos of unusual buildup or delicate finishes, because a clear scope is more useful than assuming every provider uses the same definition of move-out cleaning.
Cleaning and moving help as separate stages
Cleaning and moving support can also be planned as separate stages. Help with packing and unpacking addresses belongings and setup. A move-out clean addresses the empty property. A deep-cleaning guide can help you judge whether heavy buildup or long-neglected areas need more time than a standard handover clean. Whichever route you choose, reserve enough time for your own inspection, instead of scheduling the final wipe to end at the exact moment the keys are due and discovering the oven door at the worst possible time.